Wizardry 8 Walk-Through
Lower Monastery
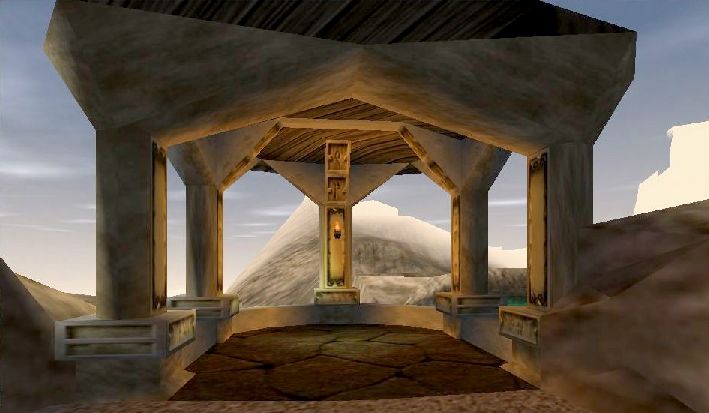
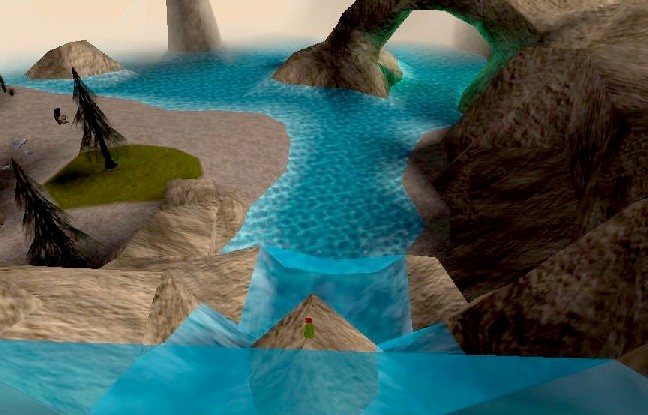
Examine the outside area thoroughly. Climb up to the
outlook point across the
lagoon. Search the area for missile ammo and other items. Open the chest and
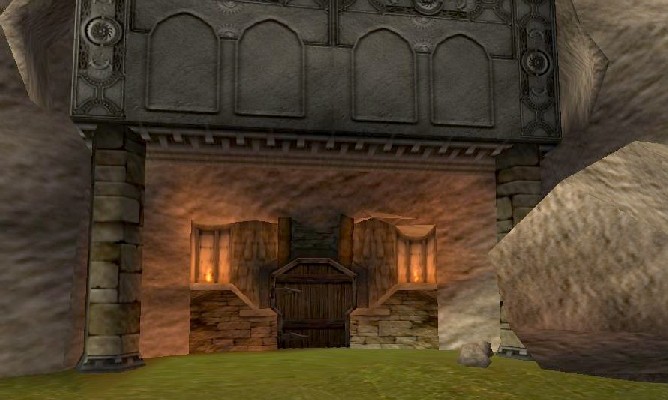
distribute the contents. Finally, open the door and
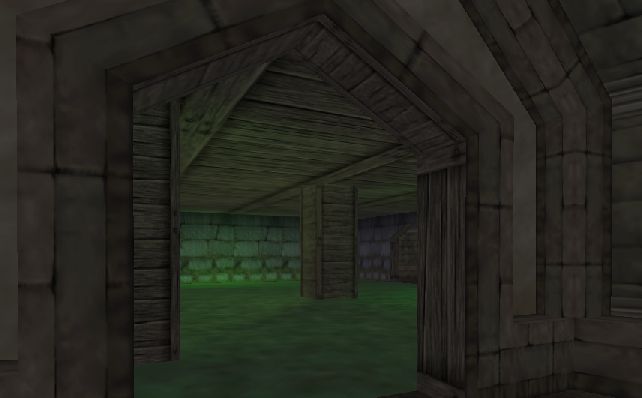
enter the monastery.
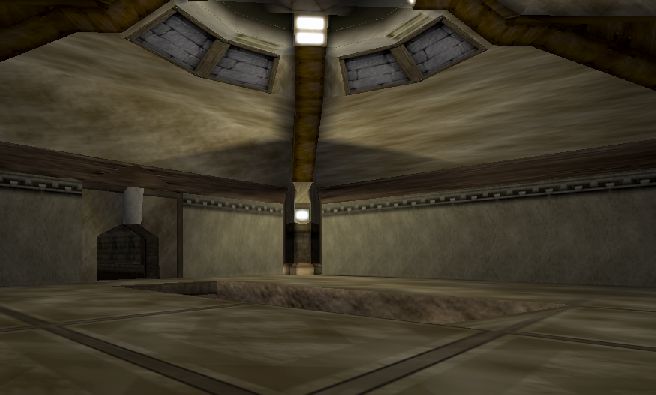
Follow the greenish corridor to the
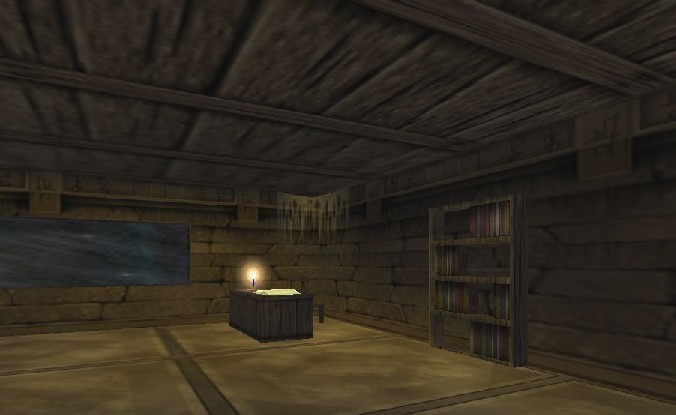
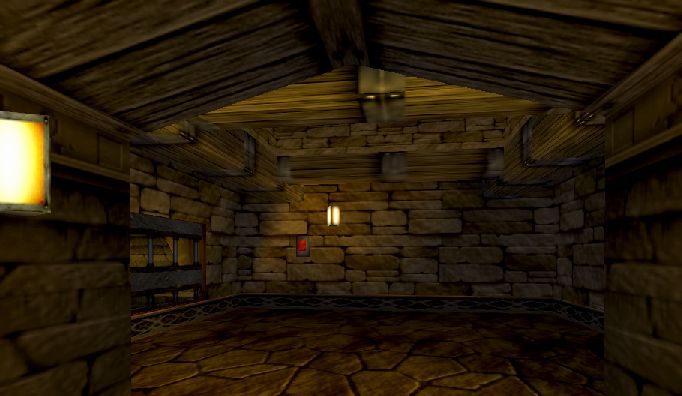
Starting Room. From here go east and search
the Study. Read the note on the desk. Return to the Starting Room and then
head west. Note: the grate on the south side can only be opened from the other
side - be patient, it's next on the list.
At the T go north and follow the corridor around, searching rooms as you go.
A possible sequence is north, northwest past a T, turn south past another T to the
north/east corner to the next T then go south. At the next T go west and then
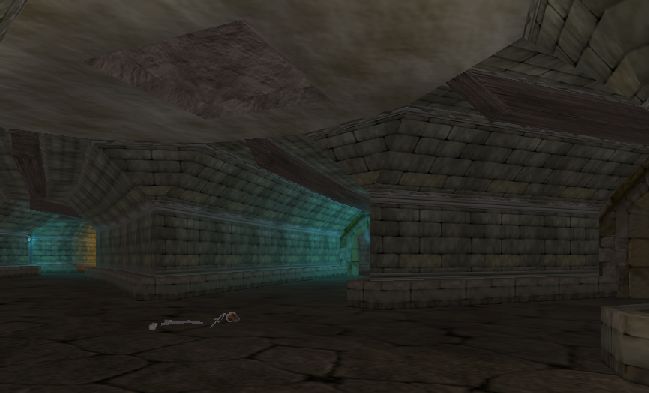
south at the east/south corner. If you approach a room with a glowing, green
floor (the Green Room) you may want to avoid it for now. Some strong
monsters often hang out there.
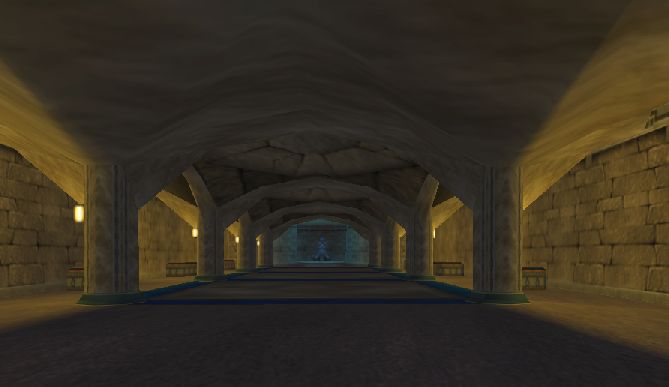
Follow the long corridor, searching as you go, to the 4-way
Skeleton Split. Explore this area thoroughly. If you enter one of the cells and close the door behind
you you can rest safely. Take the middle northern corridor to the locked door, open
it, and enter the Grate Room. This is the room that could be seen from the
Starting Room. Be prepared for a tough encounter here. Afterwards, open the door
and then go up the east ramp. At the T turn right (south) and go on up. Defeat
the strong monster in the Disc Chamber.
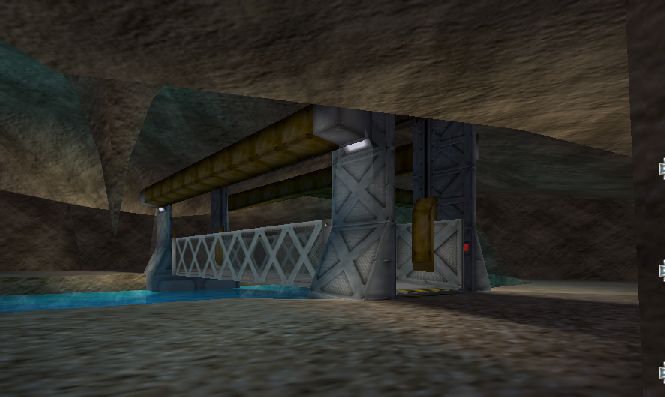
Now return down the ramp and take the east rocky tunnel to the Bridge Room. Cross the bridge (ignore the button and the fish for now) and turn right (south) and go down to plunder the lower room. Note: the chest is trapped - be careful. Now return back to the bridge, stand on it, and press the red button. [An alternative at this point is to obtain the powder that can be seen halfway down the waterfall. To do this enter the water, carefully go over the falls, pick up the powder on the way down, and then make your way back to this bridge.]
Once you've ridden the bridge up, head west a short distance (Note: the
large eastern portal can't be opened until later in the game) then turn north
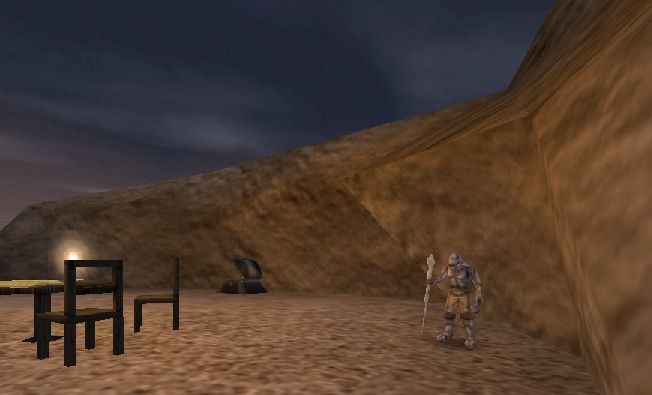
along the Wooden Walkway. Meet the trader called
Burz outside on the path.
You may talk and trade with him. Note: you can open the nearby chest without adverse
consequences. Then return to the intersection near the bridge and take the
southwest corridor.
At the next T go south and follow the corridor around, past the Disc Room,
and continue south to the Crypt Room. Defeat the monsters and then take the
other exit back into the Disc Room.
Take the southwest exit which is near the closed grate and continue straight
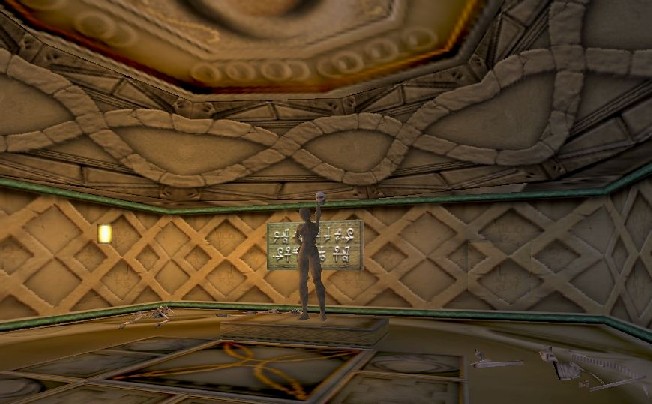
into the Skull Statue Room. Stand to the side
of the statue (to avoid the trap door) and click on the skull
to open a hidden recess. Get the safe key.
Head back toward the Disc Room but now take the stony west corridor. Follow
it upwards, kill the monsters, and click on the
red button. Now return to the
Disc Room.
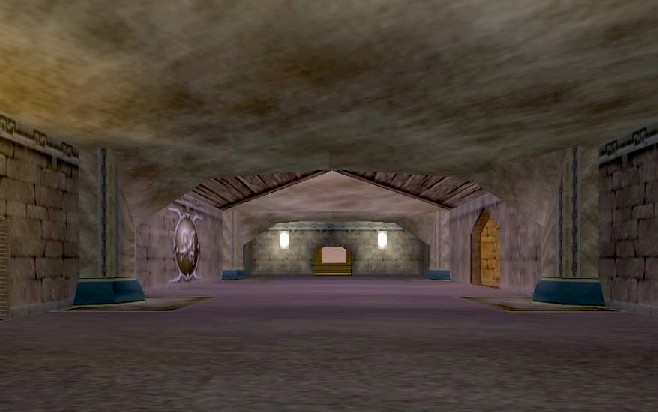
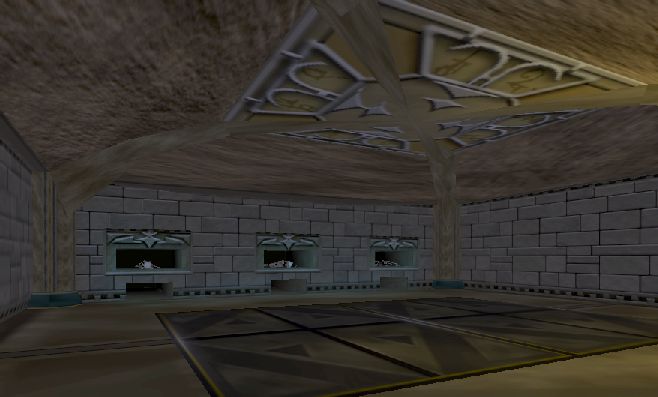
Take the north exit, which is pentagonal-shaped, to the
Healing Pool Room. The pool will completely heal the party but it can be used only once. To
use the healing waters click on the water with your "hand" cursor. Open the chests but
be wary of monsters and traps. Now return to the Disc Room.
The final action in the lower monastery is to use the key that you found.
From the Disc Room take the eastern exit, turn north, and continue north along
the
curving corridor until you reach the Safe Room. Use the key on the safe to
get the powder. Return to the Disc Room.
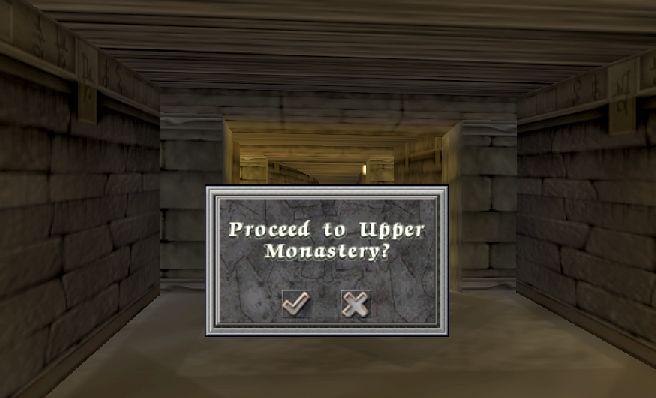
Finally, take the west exit and follow the corridor until you reach the
Upper
Monastery Zone Message.
Gadgeteer Items: None
Special Items: Cleaver (found in safe room) - can be used in Arnika Armor shop