Wizardry 8 Walk-Through
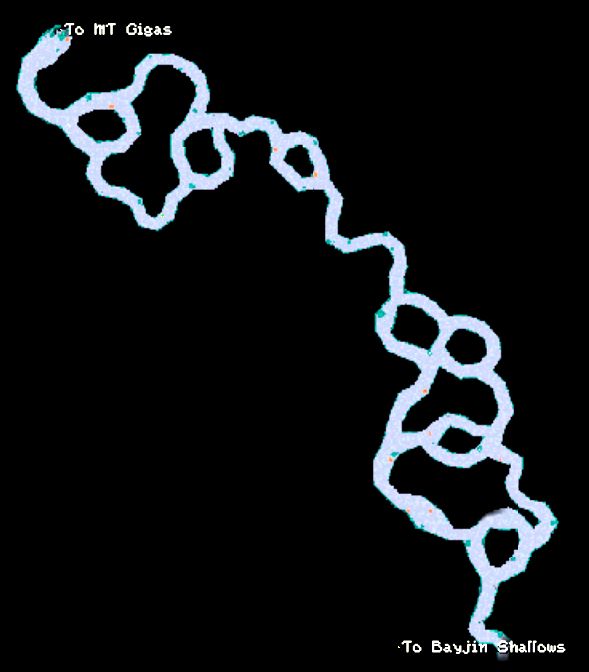
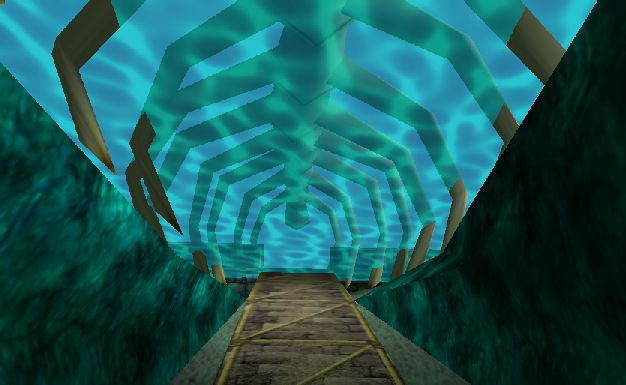
Mt. Gigas Water Caves
A simple, underwater road.. A few items and some new monsters. At the south end you'll enter the Bayjin Shallows.
Gadgeteer Items: None
Special Items: None
Bayjin Shallows
First, avoid Nessie. She's tough (very!) and a bit much for most parties at this stage. Keep close to the rocks and Hide and Shadow if you can. Make your way south along the western side southwards. You can pick up the ID tags from the bodies but you'll need more to take back to the General. Continue along the wall until you hit the southern air vent (don't take the western route yet) and zoom up to the tunnel. Follow it southeastward to the Sea Caves.
Gadgeteer Items:
Special Items: Body ID tags, coral (used by Ferro)
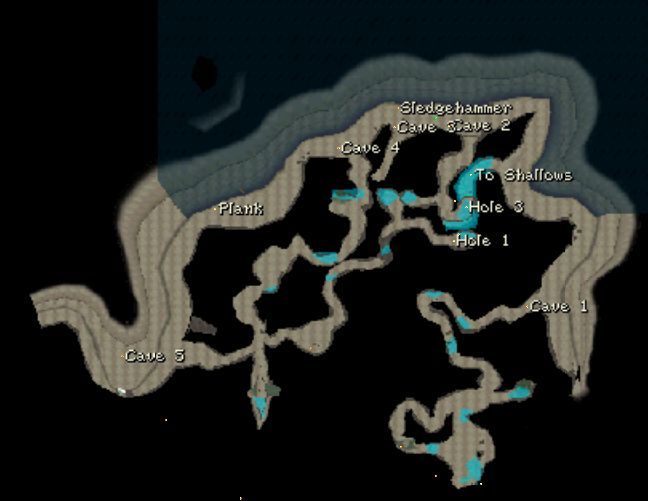
The Sea Caves
Map (Lower level)
Map (Upper level)
Take a breath of fresh, salty air as you exit the underwater gauntlet. On the beach turn first turn right (south) and enter the cave mouth (Cave 1 on the map). Search and find a Hook & Line. Exit this cave and go left (north) and curve around the point. Grab the sledgehammer and continue west. Ignore any cave mouths for now and continue southwest to the wrecked boat - get the plank. Just to the northeast is an cave entrance (it's a narrow, sandy path leading upwards - Cave 3 on the map) and take it up.
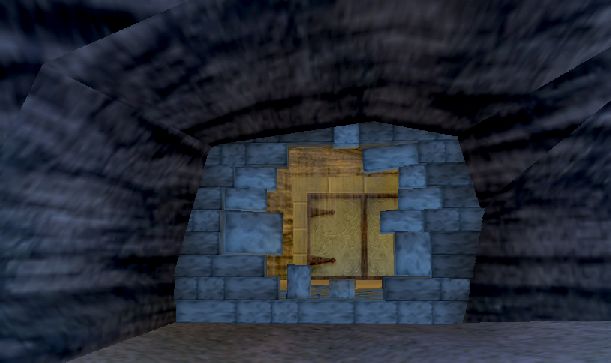
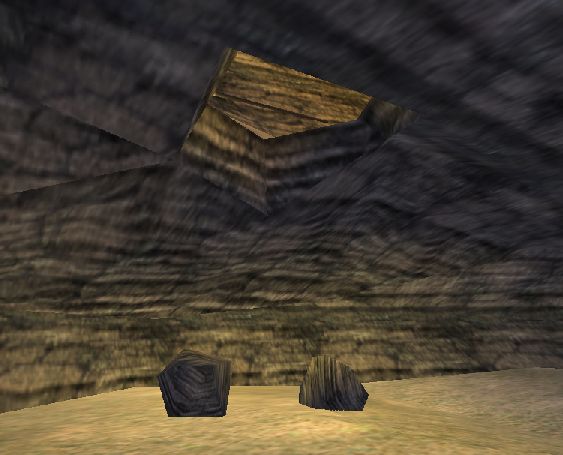
Break the brick wall with the sledgehammer but don't worry about the locked door for now. Instead head east and at the T go southeast. The smooth rock will slide you into a hole and drop you down a level. Rest and fully recover then continue. Examine the ceiling in the large open area, toss up the Hook & Line, and climb up into the Central Room. Fight a good fight and then explore the east exit. Click on the skeletons to fight ghosts and get items. Ensure that you obtain the Tomb Key and the Spike Boots (put the boots on one character). Return to the Central Room then head west.
Carefully walk down the rocky surface (the spike boots help) and as you near the crevasse ready the plank and click on the edge of the chasm. The plank is laid in place and you can cross. At the top of the small corridor is the door to Marten's Tomb. Use the Tomb Key to open it. Now ensure that a character with one open slot in his personal inventory is wearing the Helm of Serenity.
Marten's Spirit will greet you and provide the Destinae Dominus. Choose the "Helm character" when taking the Dominus. You party may all go insane but the Serenity Helm will quickly fix that (through resting). Marten will leave after giving you the Sea Caves Gate Key. Head back to the Central Room and then north, open the Sea Caves Gate, and exit the Sea Caves via the underwater route to the Bayjin Shallows. Head north to the open water and take the western air vent up. Follow this tunnel to Bayjin.
Gadgeteer Items: Long metal tube
Special Items: Hook & line, sledgehammer, wooden plank, Tomb Key, spike boots,
Destinae Dominus, Sea Caves Gate Key
Bayjin
You'll come out of the water within a Nessie skeleton. Enter the shrine (or swim across the lagoon). On the beach are three huts and some bad guys. Finish them off and explore the huts. Rescue Sgt Glumph (recruit him) and speak with the dying Higardi woman, Ja'nette; get her banner. Explore Bayjin thoroughly. At the wrecked spaceship obtain the black box and some gadget items.
When you've swept the island clean return to the Shallows and make your way back to Upper Mt. Gigas Caves and the General. Receive General Yamir's thanks and your reward. Accept the next quest to prevent the T'Rang from receiving reinforcements from their spaceship and head back to Lower Marten's Bluff (via the teleporter or via foot).
Gadgeteer Items: Broken blaster, vaporizer, vacuum pump
Special Items: Black box, helazoid banner (take to Temple in Arnika)
Lower Martin's Bluff
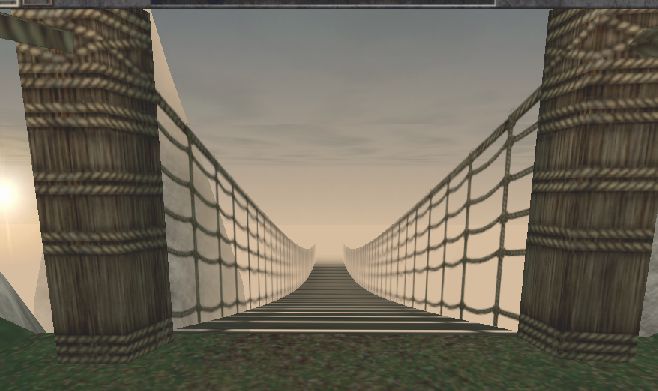
Head north to the farthest northwest room - this is the Power Room. Set the indicator to High and fight T'Rang as required. Head back south to the room outside Z'Ant's and click on the Nargisst control panel. Type in "Power" and then "Increase"; fight as necessary and then return to Upper Mt. Gigas for your last meeting with the General. Then head to Trynton and either buy the Astral Dominae from Don Barlone or kill him for it. Then head to the Northern Wilderness and take the east bridge to the Mountain Wilderness.