Wizardry 8 Walk-Through
Mountain Wilderness
The Mountain Wilderness is a roadway to the Rapax Rift. After crossing the bridge from the Northern Wilderness proceed eastward to the first road intersection; head north and upward to speak with Bela. The road continues north to Ascension Peak but it's blocked on the other side so it's not a valid route to the Peak. Instead, go back down to the intersection and go east.
Check out the bunker in the side of the hill just north of the road (near the next T) for some nice items (and some baddies). There is also a small cave directly south of the bunker in the mountains; you can rescue Anslem from some Rapax there. Continue east and take the northern road at the next T to enter the Rapax Rift.
Gadgeteer Items: None
Special Items: None
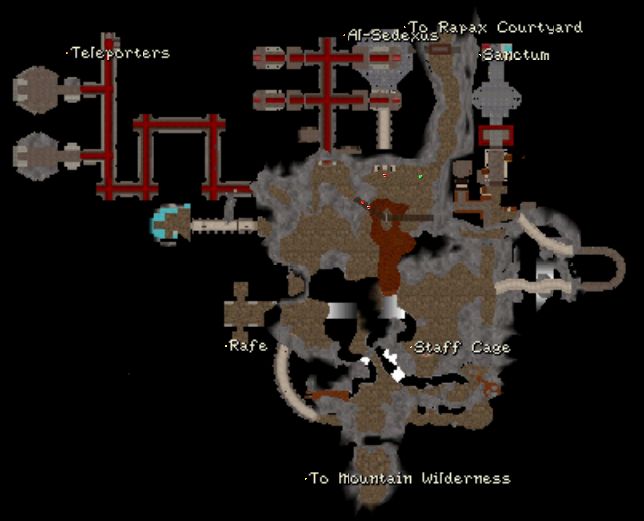
Rapax Rift
This is a dangerous place - lava pockets and streams, vicious Rapax of all kinds, and a Lava Monster to meet. First, take the east tunnel.
Go up the steep path to the lava cells - you can click on the levers to lower the grates but you'll need to find some more levers to open the doors to the cells (and get the items stashed inside). Continue on, cross the suspended bridge, and enter the building. The rooms along the corridor contain some nice items and monsters; you should open every door and gain the Sanctum key and the Flamequencher Wand. At the far end of the building are the levers controlling the cell doors - click on them, return across the bridge to the cells, and loot them. Once again cross the bridge back to the building entrance and take the very steep path down to ground level.
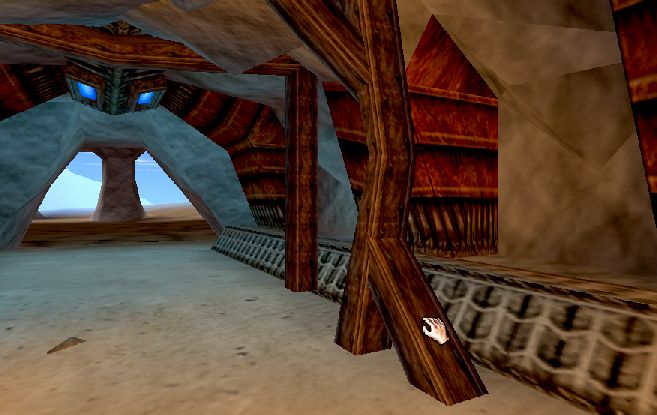
Go west and enter the tunnel. Click on the support post in the tunnel to create a partial cave-in which will allow you to cross the lava-filled, narrow tunnel to the right (north). Check out the rooms along your way but your goal is the teleporters at the far end of the corridors. Step into the north teleporter to enter a new area of the Rift.
Use the Sanctum key on the doors, exit out, and take the long U-shaped east corridor (which swings back west). Ahead is a flaming cage with the Staff of Ash inside. Use the Flamequencher wand on the keyhole, grab the staff, and head over through the metal-mesh door. Click on the lever on the floor to open the opposite door and go right (west) to Rafe. A little perseverance with the 3-tumbler lock (hint: the second dial setting is downward) will open his door. Give him the staff for a nice reward and listen to his story. Return back through the metal doors and go back to the Sanctum.
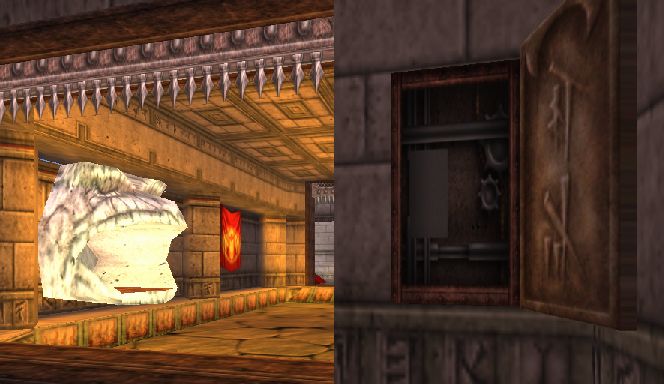
Head north through the Sanctum taking on all monsters. Shortly you'll get a message about a suspicious doorway and can see a large, mouth-like statue just beyond it - it's a trap. To the right of the doorway is a panel - unlock it and then click on the mechanism inside to disable the trap. Continue north until you reach the final chamber. Inside is a stone - grab it then exit back south to the teleporter, take it, and then take the other teleporter to El Dorado.
Place the Beckoning Stone in the slot in the door and stand back as the statue above awakens. Fight and continue through the doorway. Walk north and Al-Sedexus will speak and then fade away. Go back south, take a right, and proceed along the narrow path to the entrance to the Courtyard.
Gadgeteer Items: None
Special Items: Obsidian (used by Ferro in Castle), Prisoner's Chain (used by
Ferro in Castle), Sanctum Key, Flamequencher Wand
Rapax Castle Courtyard
Just a route to the Main Castle. Check out the second level area for some items - but there's nothing critical up there. When done, descend, and go through the doors to the Rapax Main Castle.
Gadgeteer Items: None
Special Items: None