Wizardry 8 Walk-Through
Arnika
When you reach the other side of the
fountain (which can heal wounds) you'll meet Myles. Accept his offer and then recruit him. Enter the
city and turn right at the first street intersection and go east to the
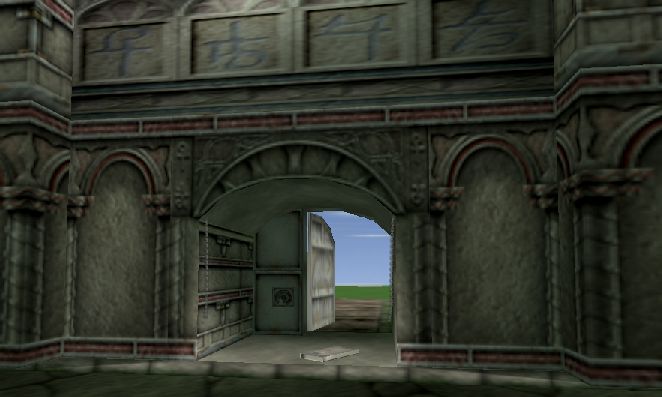
spaceport door. Click on the
sign and then pick the door lock. Enter the first doorway to the right and examine the
flight recorder
analyzer. Exit and then enter the
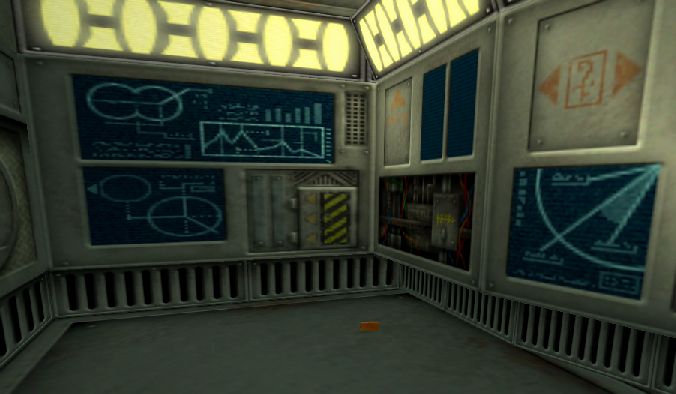
elevator next door. Click on the controls to take it to the second floor.
Examine the orbital tracking
panel and notice the missing component. Get the
chip. Take the elevator back down and
explore the rest of the spaceport. You
cannot enter the space ship Callisto at this time. Once you've collected all the
items leave the spaceport.
Now turn left (west) back to the first street intersection and then go right (north).
Turn right at the first grassy area and take the
ramp down into the Lower
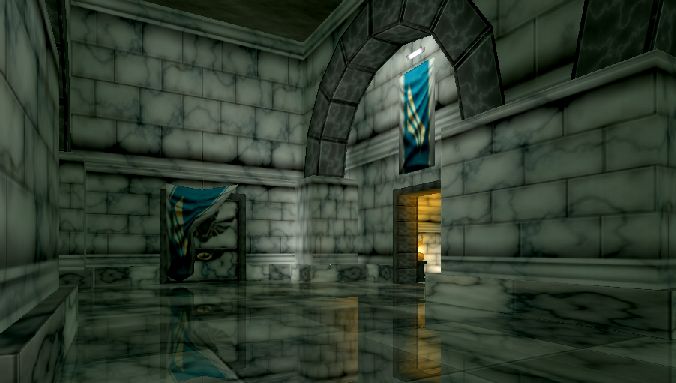
Temple. Take the first east corridor into the
Tapestry Room. Pick the lock
on the east door and follow the corridor through the heavy door into the
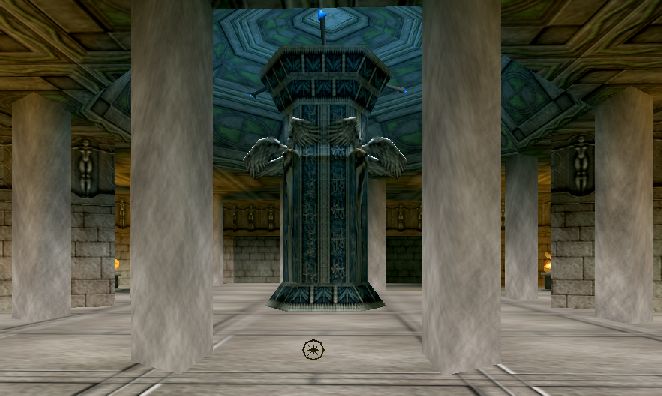
Blue
Pillar Room. Get the wheel key and then return to the Tapestry Room. The
wheel key is used to open the wheel door in the Lower Monastery.
Take the south exit and pick the lock on the east door. Enter and search the
Bed Chamber for items. Return to the Tapestry Room. The statue on the pedestal will
restore some of the party’s manna. Exit the Tapestry Room back to the main
corridor, turn right (north), and exit the Lower Temple up the other ramps.
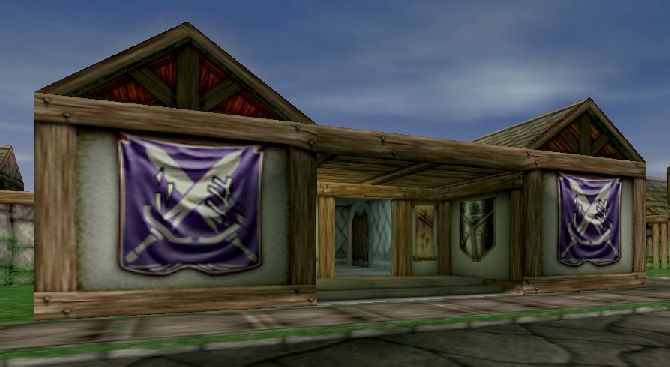
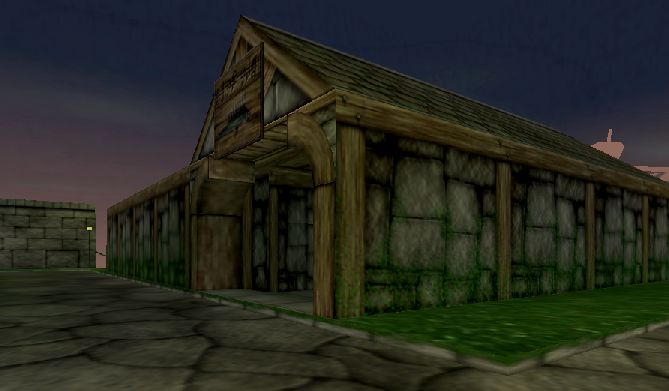
Cross the street and enter the Armor Shop. Trade and talk with Antone Rapax
for weapons and armor. You can open the trapped chest in the nearby room without
consequences from Antone. You can also camp there safely. When you're done exit the
Armor Shop.
Cross the street again and take the ramp up to the Center Temple. Enter the small doorway and take the curving stairs down. Trade and talk with Lord Braffit. Note: you can click on the pool of water for a positive spell effect. Now exit the Center Temple.
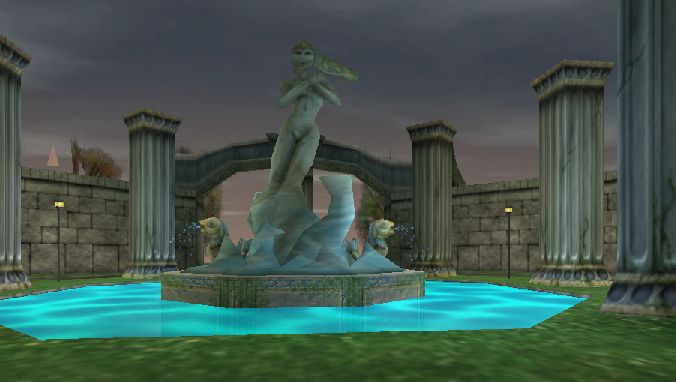
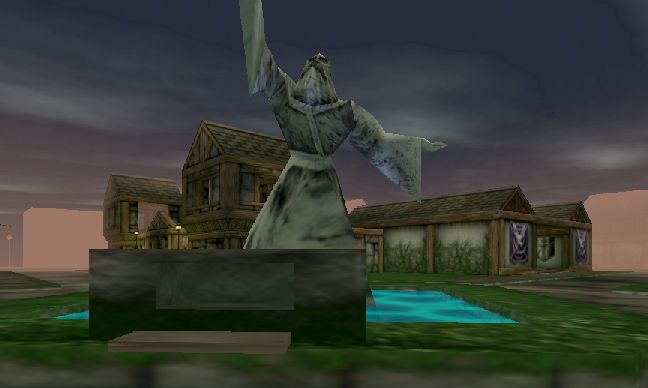
From the Center Temple take the west ramp down to the street, turn north, and
examine the large, central statue. Clicking on the sign will reveal some items
and the water can heal wounds. Now go north to the crash site.
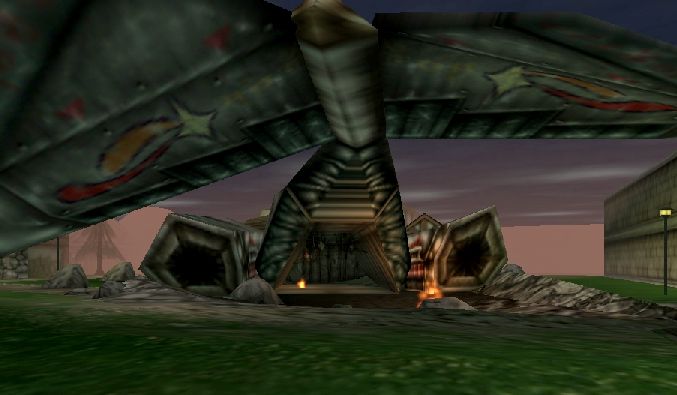
Enter the rear of the downed ship and pick up all of the items as you go.
Continue into the damaged building. Prepare for a battle and then open the
closed door. Kill the troopers as quickly as possible to rescue Vi Domina. Talk
with her and then recruit her. Exit the ship and return to the central statue.
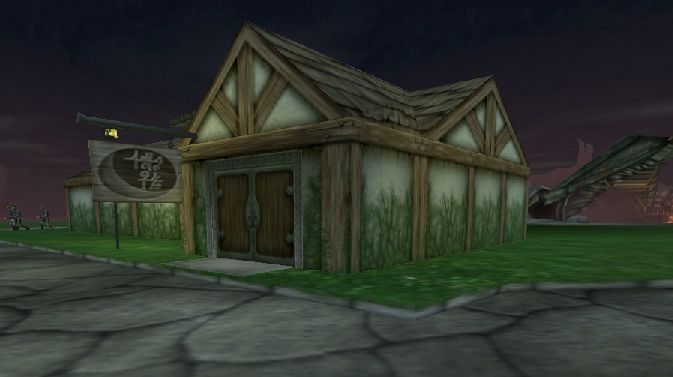
Now go northwest to He’Li’s Inn and
Tap. Speak with her and listen to the conversation between her and Vi. Now
pay Myles’ tab. Explore the rest of the Inn, opening doors and chests, and get
He’Li’s keycard. Caution: the second floor room has several raiders inside.
Leave the Inn when ready.
Return to the central statue and then go northeast to the jail. Pick the
locks on the doors and enter. Examine the items in the office and open the
lockers. Ensure that you get Marten's ID. Press the button to cut off the force
field and enter the cell area. Use the far control panel to open the cells. In
the middle cell is a scrawl on
the wall. Read it then click on the floor beneath the bench. Take this passage
down into the vaults. Collect all the items and then use the teleporter to
transport to the surface near the central statue.
From the statue take the east street past the Temple, turn north at the
intersection, and continue to the next intersection. On the northeast corner is
Anna’s Marina and Bait Shop. Enter
and speak with Anna and then explore her shop. Open the chest to get her
keycard. Exit the Marina and head back to the central statue.
Go southwest to the bank. Speak with Lorrac and give her a keycard to examine. She will now open the elevator door. Take the elevator down. Use the three key cards to open the individual vaults. Have Myles open the other locked doors. The door at the far end of the vault area is guarded by a tough guardian golem - beware. When you've completed your withdrawals take the elevator up and exit the bank.
Head north to the large building located between the Marina and the downed
ship. Encounter the Mook hologram; you will return here later in the game.
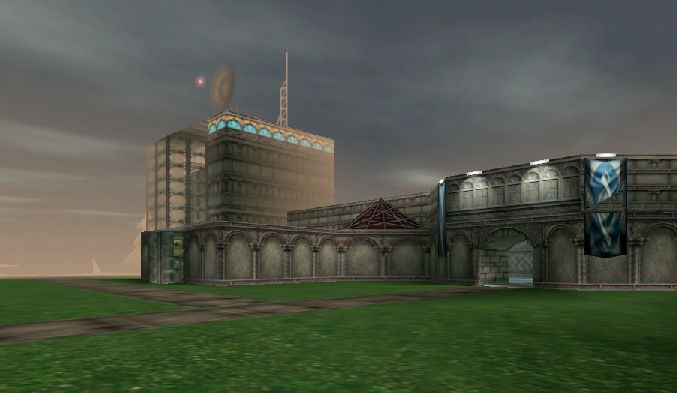
There are two more places you need to visit in Arnika. First, go southwest
toward the bank and then continue west to the
HLL Base. Since you’re now
carrying Marten’s ID the scanner will let you in. Inside, at the T, go right
and follow the corridor to the elevator platform. Take it up and speak with
Tramain. Take the elevator down, head back to the T, and then go south to the
solar map room. You can open the lockers without negative consequences. Exit the
base and go north and then go west to the broken wall. Prepare for a difficult
encounter.
Go up the hill to the Dark Tower and defeat the troopers. Get the NAS-81 potion. Continue to explore the town and leave when you’re ready. Once you’re outside head south.
Gadgeteer Items: Found: chip, doll, hinged box, porthole, empty bottle.
Purchased: duct tape, electrode
Special Items: Wheel Key - used in Lower Monastery to access round Crypt door;
NAS-81 potion - used later to repair RFS-81